

Most producers approach horror scoring the wrong way. They reach for dark sounds, heavy layers, and complex orchestration immediately, assuming that intensity creates fear. It feels logical. Dark visuals suggest dense music. Tension suggests more sound. But that instinct quietly eliminates the very mechanism that makes horror work.
Horror is not built on density. It is built on control. Space, timing, and restraint determine whether a scene feels tense or predictable. When everything is filled, nothing stands out. When everything is loud, nothing feels dangerous. The audience adapts instantly, and once they adapt, the emotional edge disappears.
This video demonstrates a far more effective method. The score is built around a minimal piano foundation that evolves in direct response to the visuals. Instead of filling space, the composer allows silence to exist. Notes are placed deliberately, not continuously, and that restraint creates tension before any layering begins.
As the scene develops, the music grows with it, adding layers only when the narrative demands it. There is no rush to escalate. No attempt to establish identity too early. The score holds back, and because of that, it has somewhere to go.
The result is a score that feels connected to the animation. Every note, every gap, and every buildup serves the story. This is not just music placed over video. It is music reacting to it. That distinction is where most producers either step into real scoring or stay trapped in production habits that do not translate to picture.
Video Breakdown
The opening moments of this cue are doing more than they appear to on the surface. They are not establishing rhythm, harmony, or identity in the traditional sense. They are establishing uncertainty. That is a critical difference.
Most producers feel pressure to define the musical direction immediately. They introduce chords, patterns, or textures that signal what the track is supposed to be. In horror scoring, that instinct works against you. The faster the audience understands the music, the faster the tension disappears.
Here, the piano avoids that trap. Notes are spaced apart, leaving room for interpretation. The listener does not immediately know where the cue is going. That ambiguity creates engagement. The audience begins anticipating rather than reacting.
This is the first layer of tension, and it has nothing to do with sound design. It is purely structural. It comes from delaying clarity and allowing the scene to breathe before committing to a direction.
Underneath that, the timing itself resists predictability. There is no rigid grid driving the cue forward. The notes feel slightly irregular, almost hesitant. That hesitation mirrors the emotional state of the scene and reinforces the sense of unease.
The piano writing itself reinforces this approach. Instead of full chords, the cue relies on isolated tones and subtle dissonance. Minor seconds and unresolved intervals create instability without needing density.
This matters more than most producers realize. Full chords introduce resolution too quickly. They give the audience a sense of structure and familiarity. In horror, familiarity reduces tension.
By keeping the harmony minimal, the cue maintains instability. The listener is never fully grounded. Even when a note feels intentional, it does not feel resolved. That unresolved quality keeps the emotional state open.
Register also plays a role here. Higher notes introduce fragility and anticipation. Lower notes introduce weight and unease. Moving between these registers is not random. It reflects shifts in the emotional focus of the scene.
This is where minimalism becomes demanding. With fewer elements, every decision carries more weight. Weak note choices, poor timing, or unnecessary movement become immediately obvious. There is nowhere to hide.
Why Minimal Piano Works in Horror
Minimal piano works because it forces precision. When you reduce the arrangement to a single instrument, every compositional decision becomes exposed. Timing, velocity, and placement are no longer supported by layers. They are the entire cue.
This constraint improves decision-making. Instead of relying on texture to create emotion, the composer relies on structure. That structure is what translates to tension on screen.
Intervals become the primary tool. Minor seconds, tritones, and unresolved tones introduce instability without needing volume. These intervals create discomfort at a fundamental level, allowing the cue to remain quiet while still feeling tense.
Register becomes a narrative device. Low notes anchor the scene with weight. High notes create anticipation and vulnerability. Moving between registers allows the music to follow emotional shifts without adding new instruments.
This is where most producers misstep. They over-harmonize. They introduce too much information too early. In doing so, they reduce the emotional range of the cue. Minimalism avoids that by limiting what is presented and controlling when it appears.
Timing Against Picture
This is where scoring separates itself from music production. In production, timing is often grid-based. In scoring, timing is visual. The picture dictates when events occur, and the music responds.
In this cue, notes are aligned to movement, not tempo. A subtle animation shift, a pause, or a visual emphasis becomes the trigger for a note. This creates a direct connection between sound and image.
Silence is equally important. The gaps between notes are not empty. They are intentional spaces where tension accumulates. The longer a silence holds, the more anticipation builds.
If this cue were quantized to a strict grid, it would lose that connection. The notes would feel disconnected from the visuals. The tension would flatten because the timing would become predictable.
Professional scoring requires this level of responsiveness. The music must follow the scene, not the other way around.
How the Tension Actually Builds
Tension builds through accumulation, not instant impact. The mistake most producers make is introducing too much too early, which leaves no room for growth.
In this example, the piano establishes the foundation. It defines tone and pacing without overwhelming the scene. As the visuals develop, additional elements are introduced carefully.
Each layer has a purpose. A low-frequency tone adds weight. A subtle texture adds atmosphere. A restrained harmonic layer introduces depth. None of these elements dominate the arrangement.
This controlled layering allows the cue to evolve gradually. It avoids early peaks and maintains flexibility. The music can adapt to changes in the scene without feeling forced.
This is the difference between stacking sounds and building tension. One fills space. The other shapes it.
The Role of Dynamics and Velocity
In minimal scoring, dynamics operate at the micro level. Small changes in velocity and timing shape the emotional response of the listener.
A soft note followed by silence creates hesitation. A slightly louder note placed closer to the next creates urgency. These variations define how the cue feels moment to moment.
Uniform velocity removes this nuance. It creates a mechanical feel that reduces emotional impact. In horror scoring, that reduction is significant.
Timing variation plays a similar role. Slight shifts in placement create unpredictability. Perfect timing removes it. That unpredictability is essential for maintaining tension.
This is where many MIDI workflows fall short. Without deliberate variation, even well-written material loses its impact.
Common Mistake: Over-Scoring the Scene
Over-scoring is one of the most common failures in this style. Producers feel the need to fill every moment, assuming that more sound equals more tension.
In practice, the opposite happens. Constant sound removes contrast. Without contrast, nothing feels important. The audience stops reacting because there is no change.
Over-scoring also removes uncertainty. It tells the audience exactly how to feel at every moment. That eliminates the psychological space where fear develops.
Restraint requires confidence. It means allowing silence to exist. It means trusting that fewer elements will create a stronger response.
This is not about doing less for the sake of simplicity. It is about doing only what the scene requires.
Applying This in Your Own Workflow
To apply this approach, start by reducing your arrangement. Use a single instrument and focus on timing, spacing, and dynamics. Build the emotional structure before adding complexity.
Score directly to picture. Avoid relying on loops or fixed grids. Let the visuals determine where notes should fall and where silence should exist.
Introduce layers slowly. Each addition should have a clear purpose. If it does not change the emotional impact of the cue, it should be removed.
This workflow requires patience, but it produces stronger results. It shifts the focus from sound design to storytelling.
Over time, this approach becomes more efficient. Decisions become clearer. Arrangements become more controlled. And the final product becomes more usable in real-world scenarios.
Real Technique Breakdown
Piano spacing defines tension.
- Use large gaps between notes early in the arrangement
- Gradually reduce spacing as tension increases
- Introduce repeated notes for urgency
This works because timing affects perception. It fails when notes are constant and remove contrast.
Drone layers create constant pressure.
- Use sustained tones in the low-mid range
- Keep movement minimal
- Blend subtly beneath the mix
This works because it maintains tension without distraction. It fails when too loud or too static.
Dynamic growth controls impact.
- Start at low perceived volume
- Increase gradually with added layers
- Peak near controlled headroom levels
Orchestral layering should be delayed.
- Introduce strings after the piano establishes the tone
- Build from sustained notes to full harmony
- Reserve full density for the climax
This works because it creates progression. It fails when everything enters too early.
Real-World Use
Start by syncing your video inside FL Studio. This step must come first because all timing decisions depend on the visual.
Write the piano with intentional gaps. This defines the emotional pacing before any layers are added.
Add a low drone to support the harmony. This step follows the piano because it depends on the established tonal center.
Increase piano note density as the scene intensifies. This creates the transition into higher tension.
Introduce orchestral layers only after the piano and drones are working together. This ensures clarity and avoids overcrowding.
Shape the climax and then reduce density for the resolution. This final step completes the emotional arc.
This order works because each stage builds on the previous one. Changing the sequence disrupts the progression.
Tools and Workflow
- FL Studio Piano Roll for MIDI timing and composition
- Playlist for syncing music to video
- Stock instruments or FLEX for piano and orchestral sounds
- Reverb for depth and atmosphere
- EQ for maintaining clarity between layers
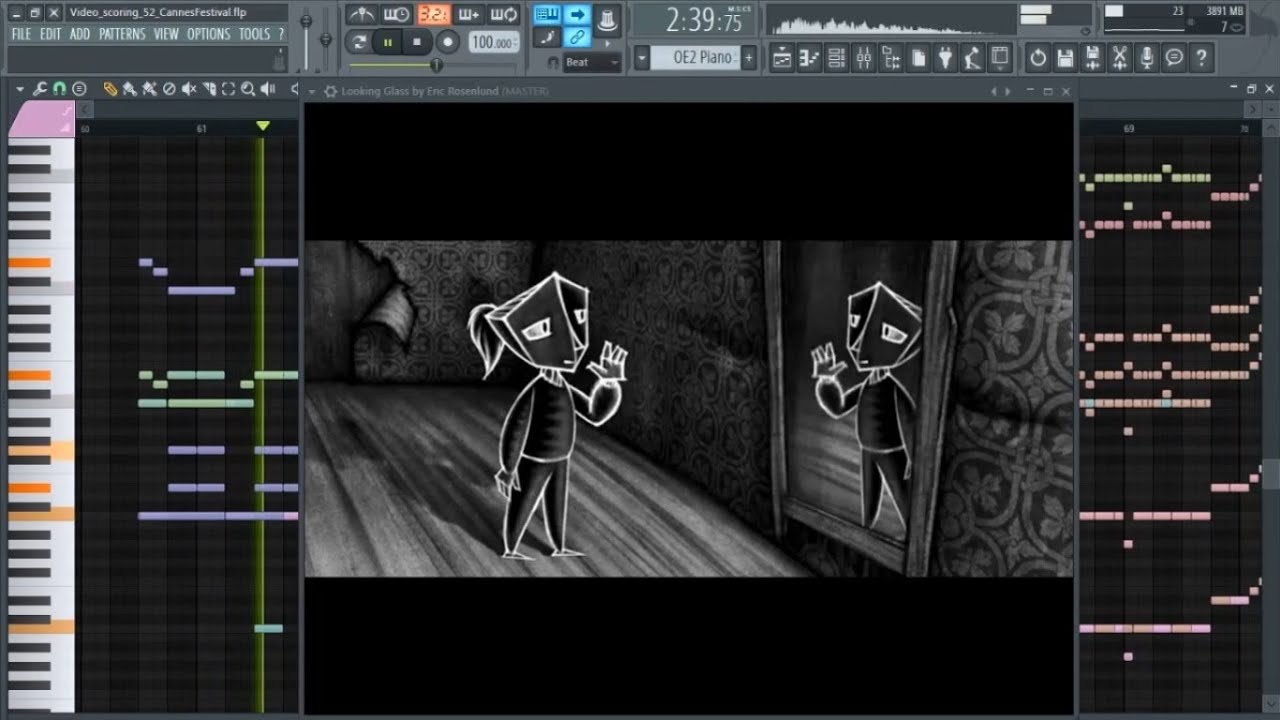
Source Video
Horror Short Film Scoring using FL Studio | Looking Glass by Erik Rosenlund
Original Score by Sillonius Aeldarian
Final Perspective
Horror scoring is not about how much sound you can create. It is about how much control you can maintain. The most effective cues are not the loudest or the most complex. They are the most intentional.
If you have been layering more sounds in an attempt to create tension, you have likely felt the limitation of that approach. More does not solve the problem. Precision does.
This is where professional scoring begins. Not with bigger arrangements, but with better decisions.
No comments:
Post a Comment