

Orchestral plugins are not the problem. Most modern libraries already sound high quality out of the box. The real issue is how they are programmed. When everything is perfectly on grid, perfectly even, and perfectly clean, the result sounds artificial no matter how expensive the sounds are.
This is where most producers fail when working with cinematic or orchestral elements. They focus on sound selection, but ignore performance. Realism does not come from the library. It comes from how the MIDI behaves and how the space is designed.
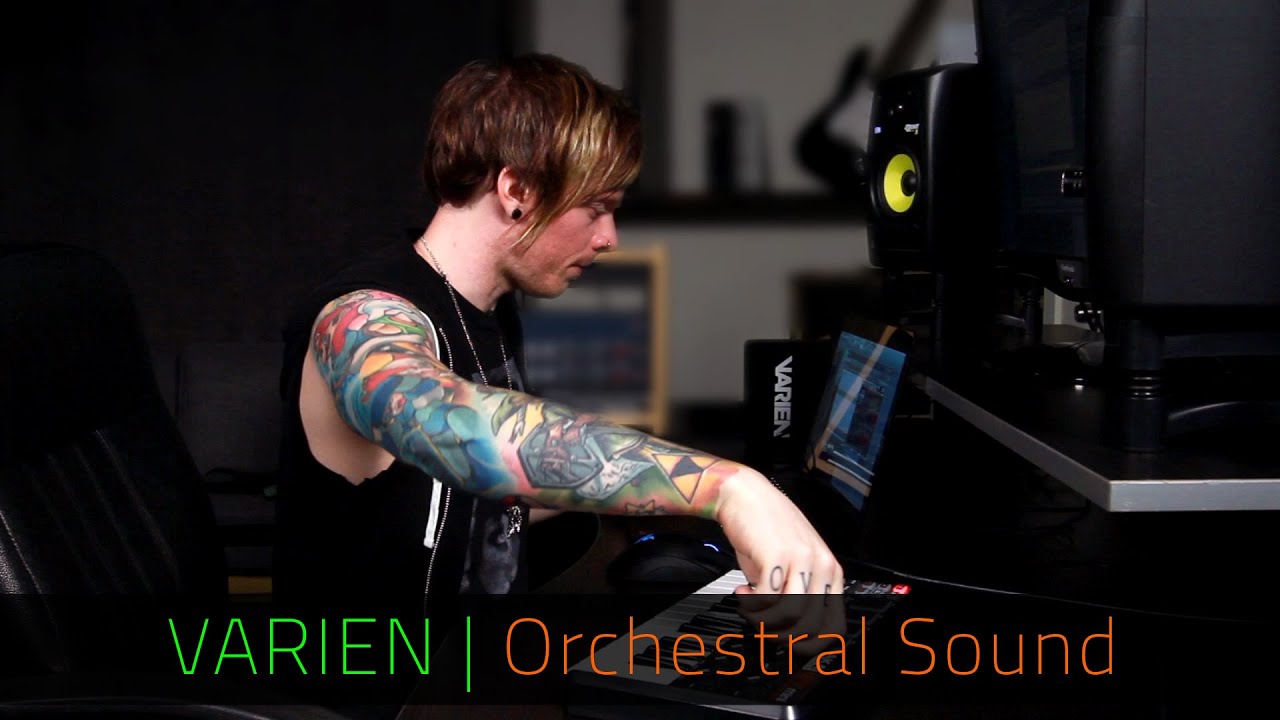
The video features Varien, a film composer and Monstercat artist, demonstrating how to turn static MIDI into a more natural, performance-driven orchestral sound inside FL Studio.
Video Breakdown
The video walks through building a short orchestral sketch using harp, brass, choir, percussion, and strings. The sounds themselves are already high quality. The focus is on how they are shaped to feel human instead of robotic.
The key concept is that realism comes from imperfection. Notes are not perfectly aligned, velocities are not uniform, and each instrument is placed at a different depth using reverb. These small changes create a convincing orchestral image.
The demonstration shows how even a simple MIDI pattern can sound dramatically different depending on how it is programmed. The same notes can either feel synthetic or realistic based on timing and dynamics alone.
What It Gets Right
The core principle demonstrated is humanization through controlled variation.
Instead of relying on complex processing, the workflow focuses on how notes are played. Velocity variation, off-grid timing, and spatial placement are used to simulate real performance behavior.
This works because real musicians are never perfectly consistent. Every note has slight differences in timing and intensity. Replicating this behavior is what creates realism.
Where Producers Go Wrong
The most common mistake is quantizing everything perfectly.
While quantization helps tighten rhythms, it removes natural variation. When applied to orchestral elements, it creates a mechanical feel that breaks immersion.
Another mistake is using flat velocity across all notes. This removes dynamic expression and makes instruments feel lifeless.
Finally, many producers misuse reverb. Instead of using it for depth, they use it for effect. This results in washed-out mixes rather than realistic spatial placement.
Real Technique Breakdown
Velocity variation defines realism.
- Alternate note velocities up and down instead of keeping them flat
- Avoid repeating identical values across patterns
- Use softer velocities for natural phrasing
This works because it mimics how musicians naturally vary intensity. It fails when velocity is uniform, resulting in robotic playback. :contentReference[oaicite:0]{index=0}
Off-grid timing creates human feel.
- Place notes slightly before or after the grid
- Avoid perfect alignment with the metronome
- Keep adjustments subtle to maintain timing integrity
This works because real performances are never perfectly timed. It fails when notes are rigidly quantized.
Reverb defines depth and positioning.
- Increase wet level and decay to push instruments back
- Use low cut to prevent low-end buildup
- Layer multiple reverbs for realism and modern texture
This works because orchestras exist in physical space. It fails when reverb is used without filtering, creating mud. For deeper mixing control, see dynamic range in production.
EQ maintains clarity.
- Apply low cuts to remove unnecessary low frequencies
- Avoid boosting highs unnecessarily
- Let different instruments occupy their natural ranges
This works because it prevents frequency buildup. It fails when multiple instruments compete in the same range.
Layering balances realism and modern sound.
- Use traditional orchestral elements for realism
- Add subtle modern effects like shimmer for polish
- Keep layers aligned musically
This works because it blends realism with production quality. It fails when layers conflict or overpower each other.
Real-World Use
Start with a simple musical idea. Do not overcomplicate the composition. The focus should be on how it is played, not how many notes are used.
Program the MIDI without quantization first. This allows natural variation to develop before tightening the timing.
Adjust velocities next. This step adds expression and defines how each instrument feels in the arrangement.
Apply reverb to position each element in space. Instruments further back should have more reverb and longer decay.
Use EQ after spatial placement. This ensures clarity without removing the natural tone of the instruments.
Finally, refine with automation. Volume and subtle parameter changes bring movement and realism to the entire arrangement.
This sequence matters because realism starts at the MIDI level. Processing should enhance, not replace, performance detail.
Tools and Workflow
- FL Studio for sequencing and arrangement
- Fruity Reverb 2 for spatial depth
- Valhalla Shimmer for modern texture layering
- FabFilter Pro-Q 2 for low-end cleanup
- CineBrass for brass articulation
- True Strike 2 and Damage for cinematic percussion
- Large orchestral sample libraries for strings, harp, and choir
The workflow relies on performance shaping rather than heavy processing. High-quality libraries provide the foundation, but realism comes from how they are used.
Source Video
VARIEN | Orchestral Sound Design | FL Studio & Razer Music
Original tutorial featuring Varien (Nick Pittsinger), a Monstercat artist and film composer known for work on Furious 7, The Purge: Anarchy, and 300: Rise of an Empire. This article expands on the workflow with deeper production analysis and real-world application.
Professional Wisdom
This workflow is effective because it focuses on performance realism instead of over-processing.
However, it simplifies one important factor. Advanced orchestral production often uses articulation switching and expression automation to create even more realistic phrasing. Velocity alone is not always enough.
A more advanced approach uses MIDI expression controls such as modulation and expression lanes. These allow continuous dynamic shaping rather than fixed velocity steps, resulting in smoother phrasing and more realistic transitions between notes.
Another limitation is relying heavily on reverb for depth. In professional mixes, depth is created using a combination of reverb, panning, and level balancing. Panning spreads instruments across the stereo field, while volume determines perceived distance before reverb is applied.
The key takeaway is that realism starts with how notes are played, not how they are processed.

FL Studio Free Download
Download the full version of FL Studio and start producing immediately. No time limit. All features unlocked.
Upgrade later only if you need to reopen saved projects or expand your plugin collection.
Download Free Trial Compare Editions →Final Takeaway
Orchestral realism comes from performance, not plugins.
Velocity variation and timing create human feel.
Reverb should place instruments, not wash them out.
EQ removes problems without altering natural tone.
Simple adjustments can transform a static MIDI pattern into a believable performance.
No comments:
Post a Comment